
User Management
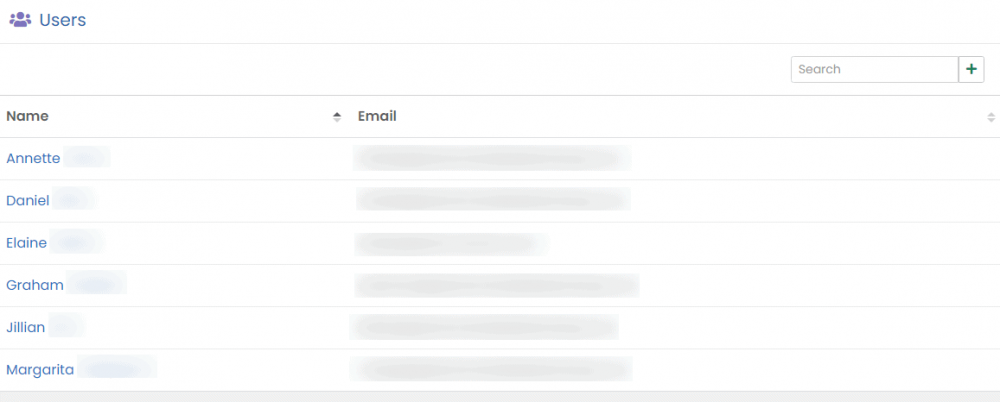
To add users, go to "Setup > Users" then click on the plus icon at the top right above the table.
Permission groups allow you to set which users are able to perform which actions in PlanMan, such as add, edit and delete items. When you sign up for a free 30-day trial, you are automatically added to the Administrator group. Users in the Administrator group have access to everything.
Group Permissions
The permissions that you can currently set are as follows:
Add clients
Update clients
Delete clients
Add invoices
Update invoices
Delete invoices
Add projects
Update projects
Delete projects
Add quotes
Update quotes
Delete quotes
Add purchase invoices
Update purchase invoices
Delete purchase invoices
Add suppliers
Update suppliers
Delete suppliers
Authorise expenses
Update enquiries
Delete enquiries
Manage leave requests
View expenses
Run invoice reports
Run time recording reports
Delete project stages
Add users
Update users
Delete other user calendar events
Adding Users to Permission Groups
To add a user to a permission group, go to "Setup > Users" then click on their name. Under the Permission Groups section, click on the plus button and select the group to add them to, then click the Update User button.
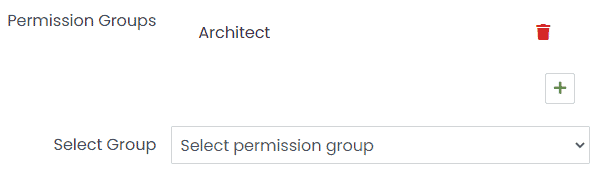
To remove a user from a permission group, click the red bin icon.
To further secure your logins, you can enable 2 factor authentication. To do this, view your account page by clicking your name at the top left, then clicking the user icon.
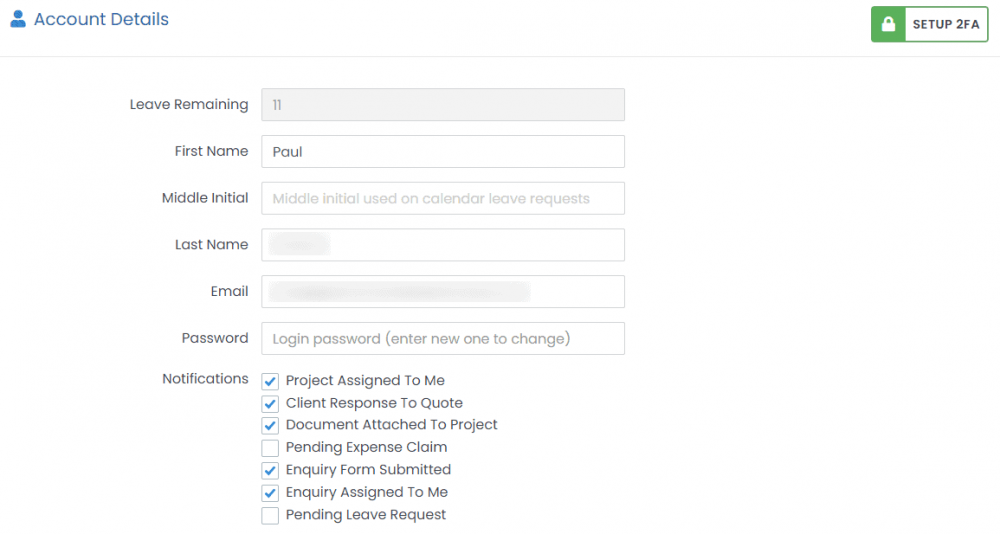
Then click on the SETUP 2FA button at the top right and follow the instructions.
A mobile device with the Google Authenticator (or equivalent) app is required to set up 2FA.